A true initiation into the beauty world, being betrayed by a pair of false lashes that won’t stay in place, is a shared experience amongst many makeup enthusiasts.
No matter how much glue you slide across the lash band, sometimes it seems impossible to get your falsies to stop lifting. With the party season right around the corner, facing a false lash foe is almost inevitable.
To minimise any make-or-break lash mishaps from occurring, we have compiled some key tips and tricks on how to apply false lashes to help make this once-sticky situation a breeze.
Choose a Lash Style for Your Eye Shape
Sometimes, your falsies might not look faultless due to them not being compatible with your eye shape. Assess which eye shape resonates with you to pick out your best-suited style:
Almond Eyes:
Characterised by an oval shape and a wider length, almond eyes may suit most false lashes.
Hooded Eyes:
Hooded eyes refer to having little visible eyelid when you are looking straight ahead. Avoid heavy, dramatic lashes that could make your eyes appear smaller. Opt for a lighter, more natural-looking choice with a thin band instead.
Downturned Eyes:
This is when the outer corners of the eyes appear to turn downwards. A wispy lash with a lengthened end could create the illusion of a more lifted shape.
Round Eyes:
Defined by a large shape where the whites of the eyes can be seen around the iris. Curled, voluminous lashes lend an attention-grabbing gaze, while tapered styles create a cat-eye effect to help draw the eyes outwards.
How to Apply False Lashes for Beginners
Follow our step-by-step guide below for a foolproof flutter:
Gather the Essentials
To give yourself the best shot at a flawless first-attempt application, set out your supplies in one place to begin. Grab your lashes, glue, scissors and lash applicators or tweezers.
Peel and Measure
After carefully peeling your falsies from the tray, (gently lift them with your lash tool from the very outer corner), measure them up on your lash line whilst they are glue-free. Only apply light pressure when removing from the tray, as most lashes are pre-adhered with a bit of glue.
Trim if Needed
If they hang over the outer corner of your eye or sit too close to your tear duct, take some small nail scissors and snip the lashes at either side to shorten them. Only trim off little amounts to begin, measuring on the eyelid between each adjustment for the perfect fit.
Apply Glue
Taking your chosen adhesive, lightly squeeze or brush a small, even amount onto the band. Let the glue go tacky (wait around 30 seconds) so that it isn’t wet on the lid when you go to stick it down.
For extra security, dab a small dot of glue onto the inner and outer corners of your lids. Apply where you would expect the ends of the lash to be placed as this could help provide more hold.
Adhere to the Lash Line
Using your tweezers or applicator, firmly grasp the centre of the lash close to the band. Be careful not to hold it too forcefully as this may cause it to bend.
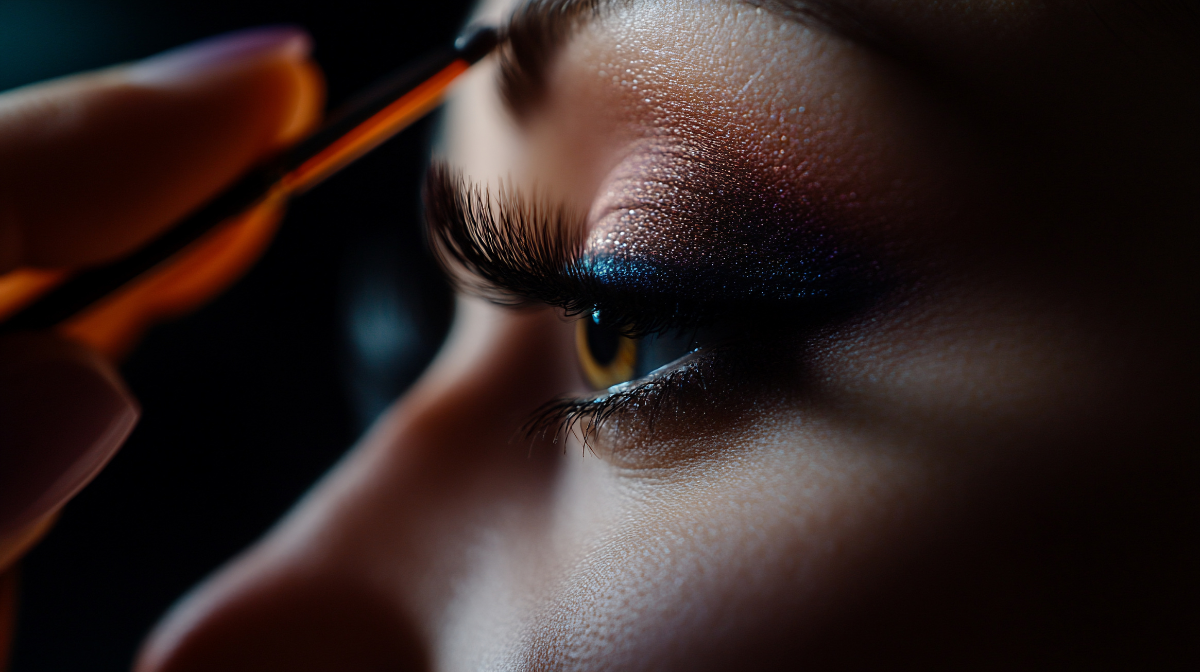
Look downwards in the mirror when applying for better visibility and place the false lash close to your lash line. Follow the start and end of your natural lashes, sticking down the inner corner where yours begin and the outer corner where they end.
Tip: If you want to achieve a cat-eye effect, snip the lashes a little smaller and place the inner corner towards the centre of your natural lashes, aligning with your pupil.
Ensure you are adhering to the skin and not the lashes themselves, as this may create a more difficult removal.
Make any Adjustments
Once fixed into your preferred position, gently press your tool or tweezer on top of the lash band to secure it and blend it into your lash line.
If you have found that your fingers are feeling slightly sticky, try massaging some oil-based cleanser between them and rinsing for a clean slate.
Conceal
To finish, conceal the lash band by taking a black liquid eyeliner and drawing a line that extends from the inner to outer corner for a more seamless result if desired.
And there you have it; your newfound flutter is set and ready to embrace all your day-to-night adventures. Shop all your false lash essentials at Beauty Expert below.

Related Articles


